Today I want to share a project that will hopefully help to organize your life, or at least your to-do list! I put together an interchangeable dry erase board using a 12×12″ glass frame, some CTMH paper, stamps, and ink, and a little Brookie Craft Vinyl!

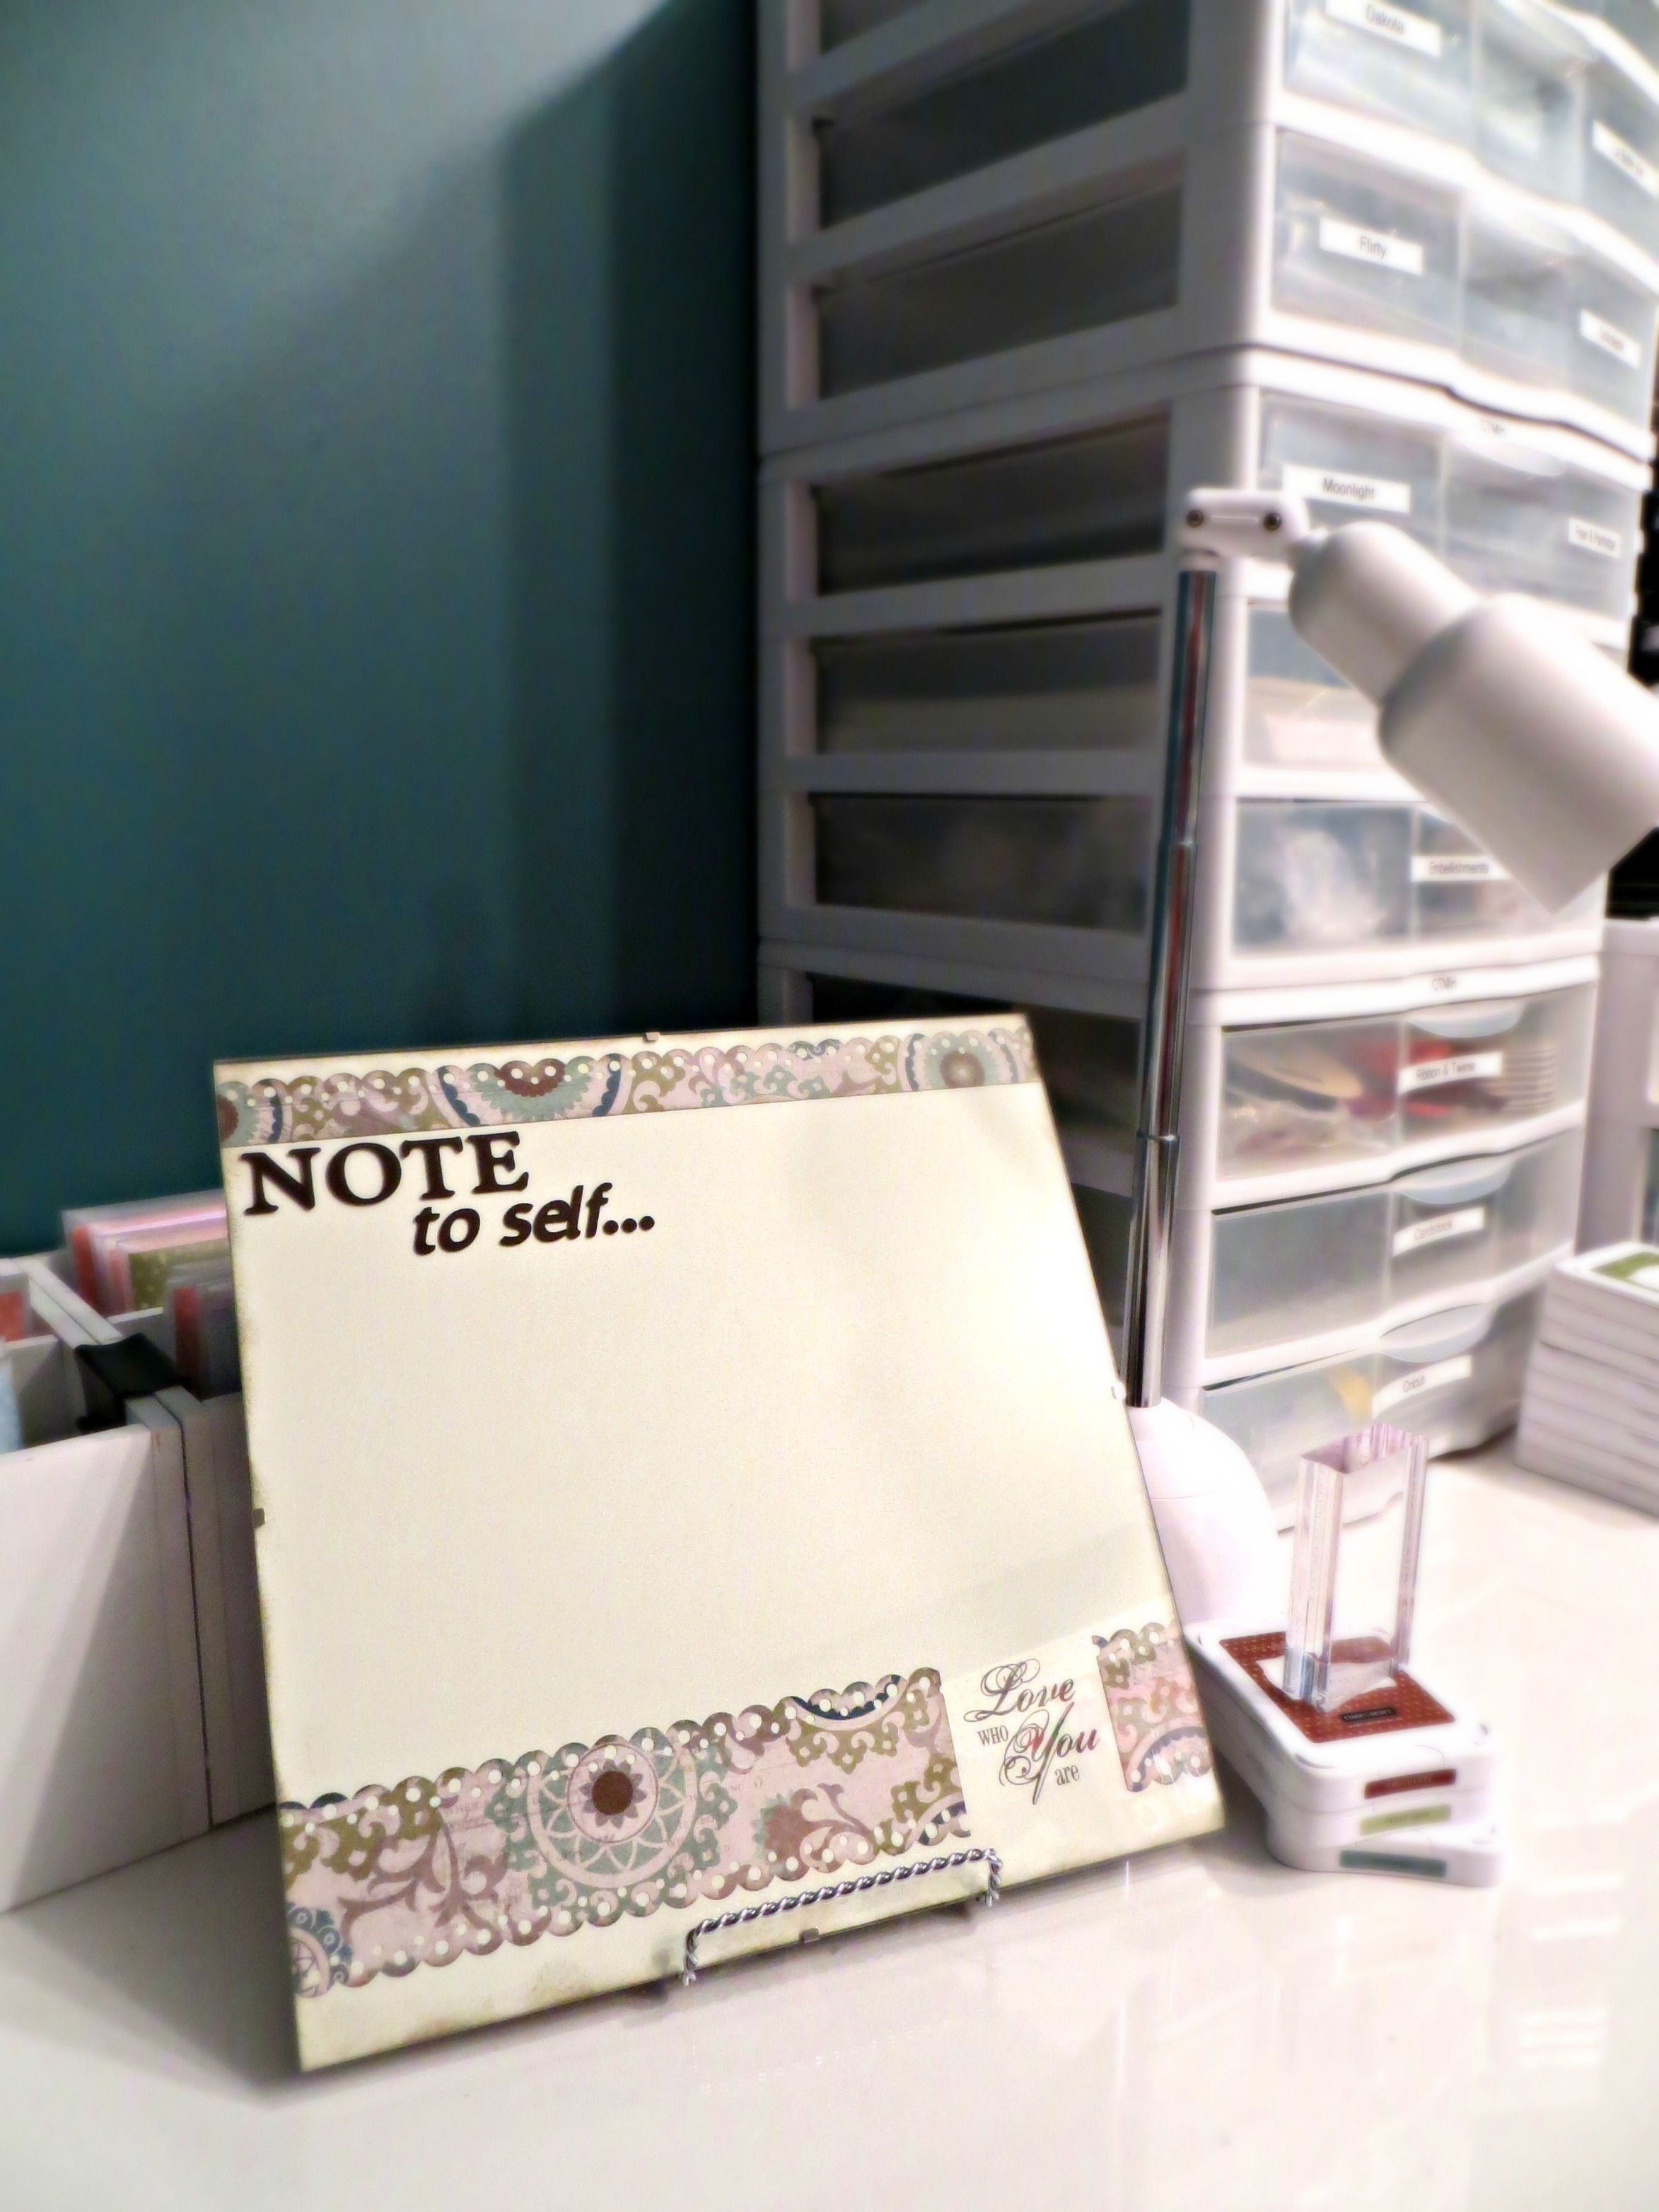
Step one is to create a design to frame – this will be the background for your dry erase board, so you’ll want to keep it fairly simple, especially for a section to write on. I used some Colonial White cardstock and accented it with some patterned paper from the Avonlea set. I added an inspirational quote as well, and after inking the edges, I was ready to put it all together! This particular frame is perfect for this project because it’s pretty much just glass – only 4 little clips to attach the glass to the back, so they don’t get in the way of anything!

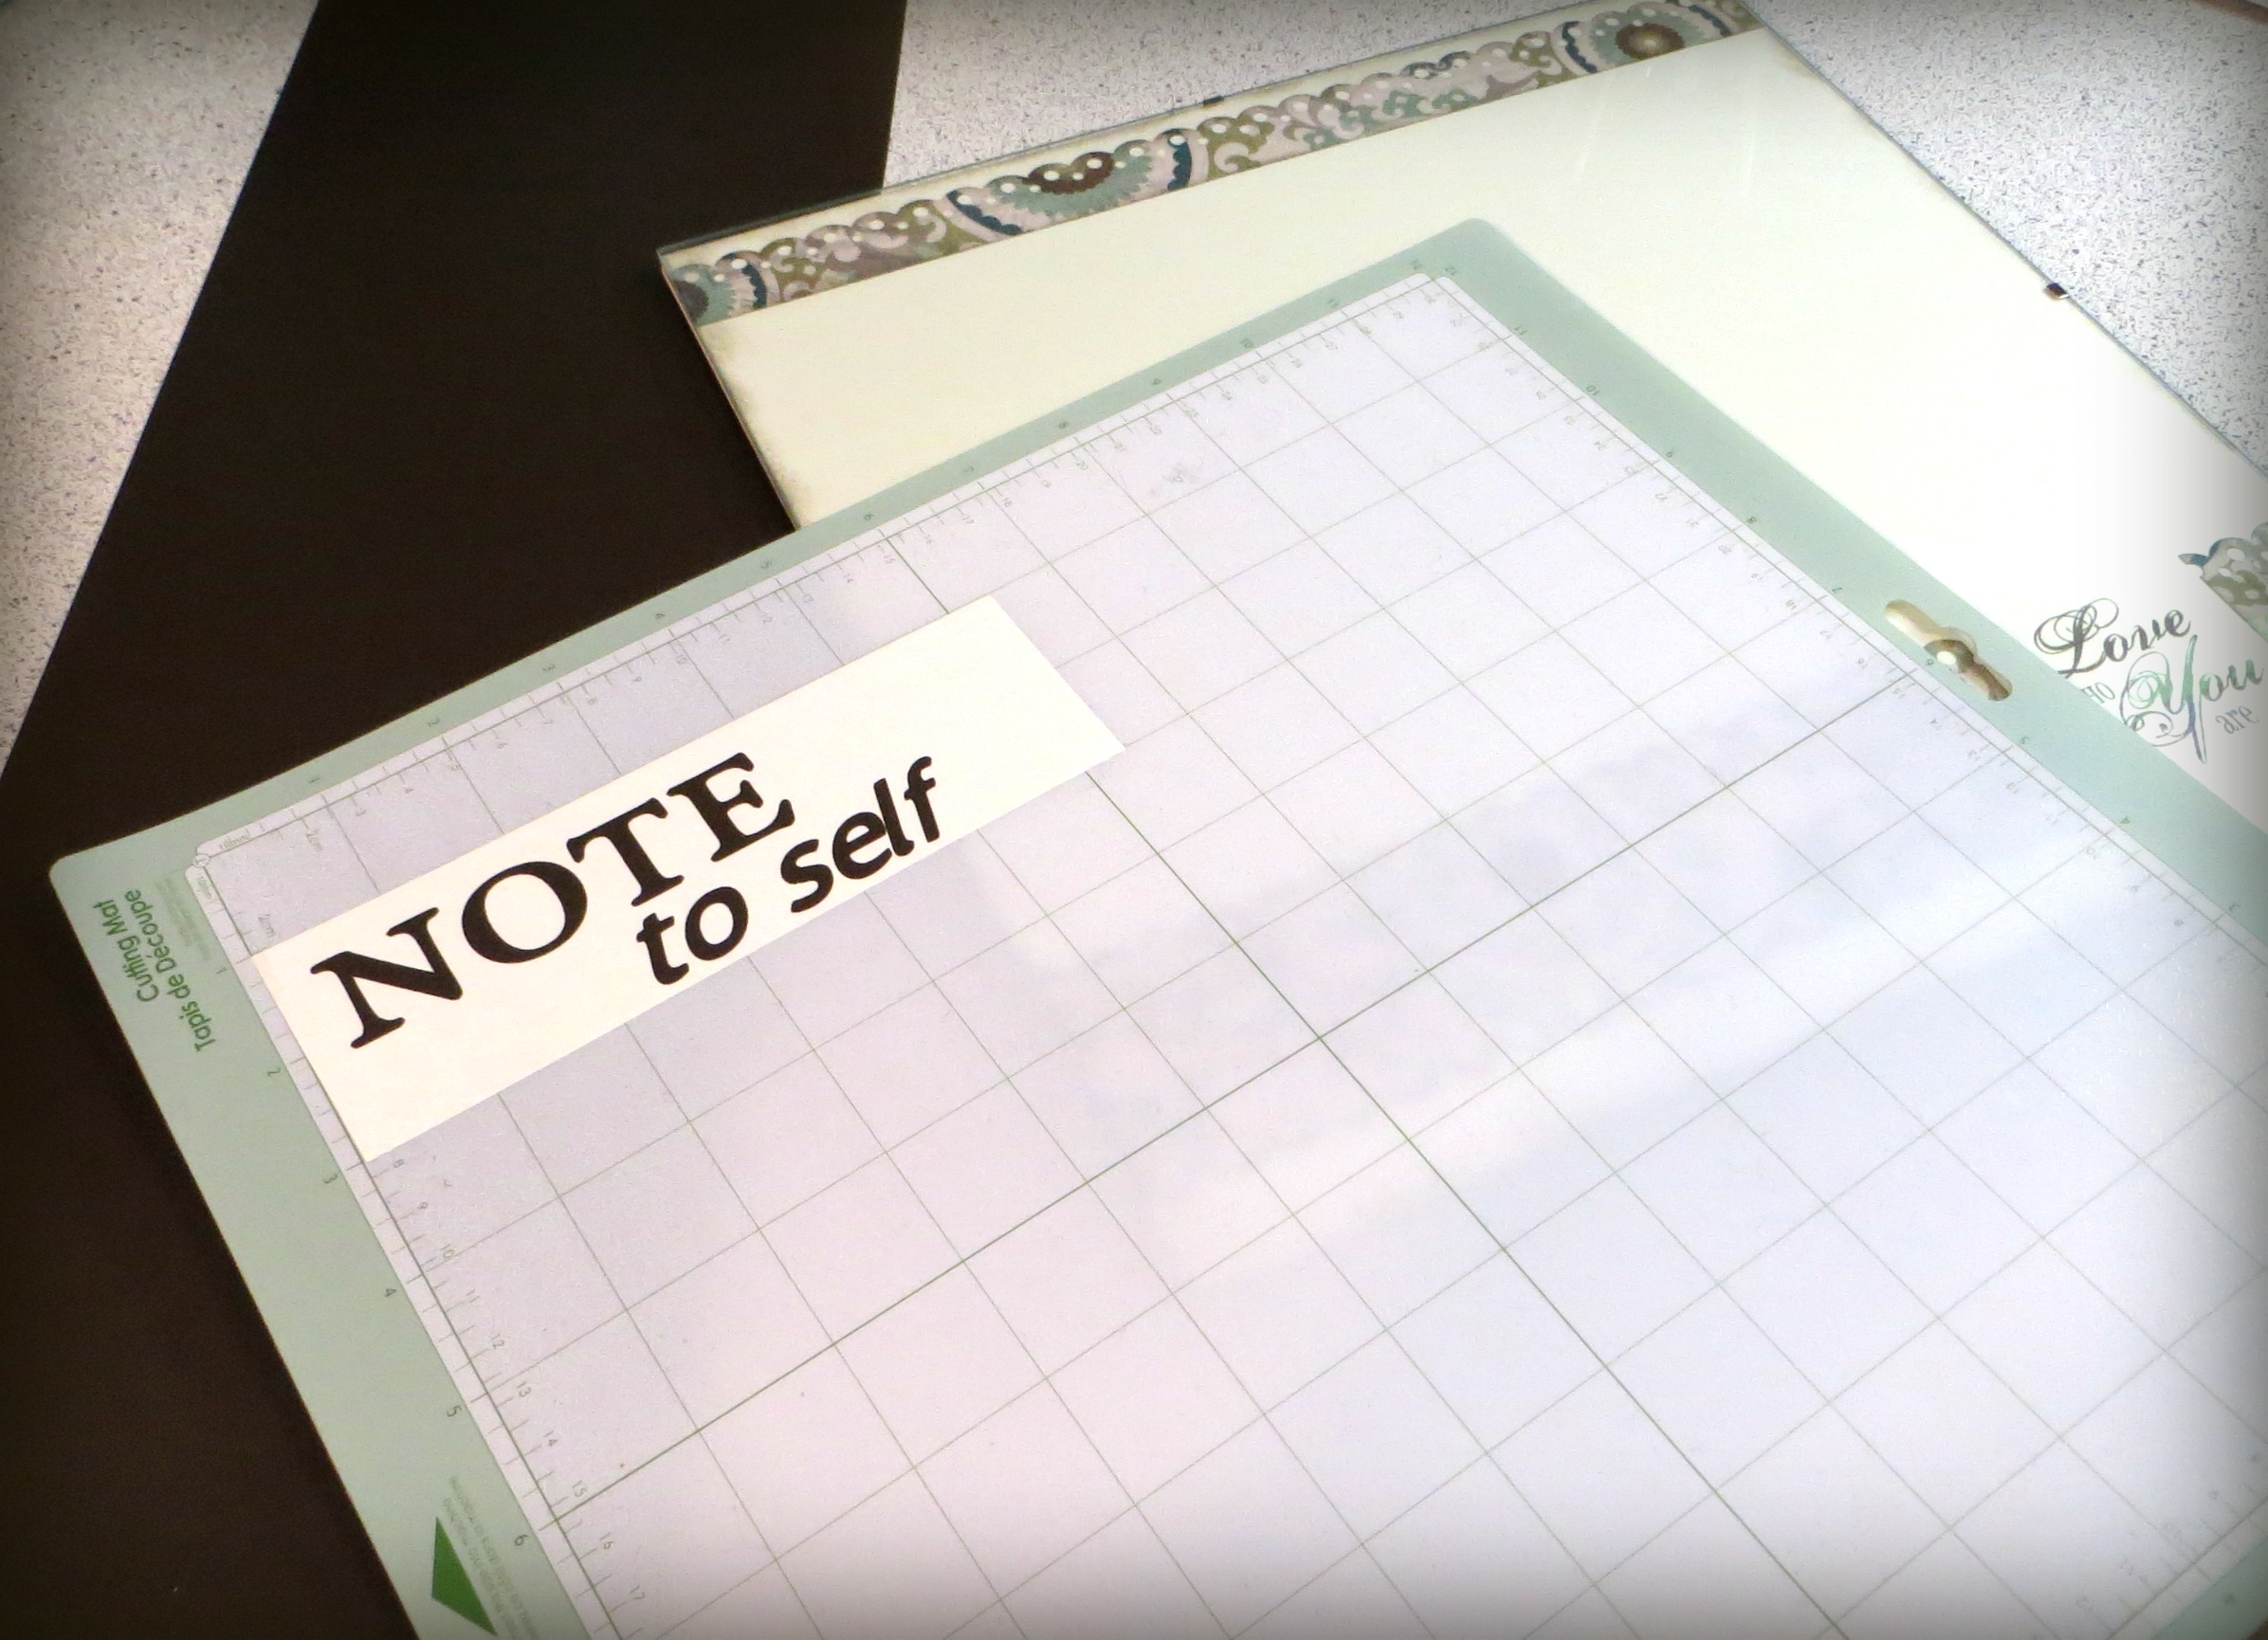
Once I had the board put together, I used my Gypsy to design a quick title (“Note to Self…”) using both CTMH cartridges: Art Philosophy and Artiste. Use some transfer tape to attach the new vinyl title, and you’re all set!!
You can use this dry erase board on a stand right on your desk, or even hang it on a wall! Think of the great ways you can use this throughout the year! Just switch out the background paper to match a holiday or even a different room!
 Thanks so much for stopping by!!

Sweet and practical project!